Traveling is full of unforgettable moments, but how often do you let those memories fade after your trip? A beautifully constructed photo book is a great way to memorialize your travels and enjoy them all over again.
In this post, you’ll discover creative travel photo book ideas that help you tell your story beautifully. Whether it’s a unique layout or clever theme, these ideas will inspire you to transform your travel photos into so much more.
Why Travel Photo Books Matter
Have you ever looked back at your phone’s gallery and realized half your memories are just lost in the scroll? Travel photo books change that. They give your adventures a physical home, a place you can hold, flip through, and really feel.
It’s not just about pictures—it’s about reliving moments. That sunset you chased in Santorini, the street markets in Bangkok, or the quiet early mornings in the Alps—all of it gets preserved in a way a screen can’t capture.
Plus, there’s something satisfying about designing the layout, choosing the captions, and seeing your story unfold page by page. For those thinking about starting a side hustle, creating travel photo books can even tie into a POD business: you design your book, and a print-on-demand service prints and ships it directly to customers, turning your personal memories into a potential income stream.
8 Creative Travel Photo Book Ideas
1. Chronological Journey
Start from the moment you packed your bags and end with your return home. Organizing your photos in chronological order gives a natural flow to your story, letting readers—or yourself—relive each day as it happened. Add notes, captions, or short anecdotes about what you were feeling at each stage.
Have you ever noticed how seeing your trip unfold day by day brings back little moments you almost forgot? This approach not only tells the story of where you went but also the journey of how you experienced it.
2. City or Country Highlights
 Dedicate sections to the most memorable cities or countries you visited. Think about quintessential vistas, local eats, or off-the-radar places you discovered. Include maps, tickets, or small sketches to enrich the narrative.
This works even better if your travels span multiple destinations. Consider it a personal travel guide you’re creating for yourself, helping you revisit each place vividly whenever you flip through the pages.
3. Themed Photo Book
Pick a theme that unites all your photos: sunsets, street markets, architecture, or candid moments. Themes can add an element of creativity and help your book feel like it hangs together. You might even look into sub-themes within that major theme, such as photographing doors, signs or pieces of local art.
On occasion, fixating on one facet of your travels reveals beauty you hadn’t seen or recognized and gives your book a specific, hand-picked feel.
4. Color Story
Let your photos tell a story through color. Group blue oceans, golden sunsets, or the fiery reds of market stalls together. Colors don’t just look beautiful—they capture the mood and energy of each place, giving every chapter a cinematic feel.
Think about the way your eyes were drawn to certain shades during your travels and use that to guide your layout. A color-focused approach transforms your photo book into a visual poem.

Custom Frameable Canvas Prints Wall Art (Horizontal) – Print-On-Demand
5. Adventure Diary
If your trip involved lots of activities—hiking, snorkeling, biking—organize your book around these adventures. Use action shots, maps, or even ticket stubs to create a sense of movement and excitement.
Include brief reflections on the challenges and thrills of each activity. This format doesn’t just show what you did—it gives a sense of how it felt, making your audience feel like they’re moving alongside you.
6. Cultural Encounters
Highlight the people you meet, local customs, or festivals. Including portraits, street scenes, or cultural snapshots turns your book into a window into the lives and traditions you encountered. Consider adding captions that tell small stories behind each person or ritual.
Have you ever looked back at travel photos and realized the people are what made the trip unforgettable? This approach creates a book full of warmth, connection, and authenticity.
7. Before & After
Show transformation: crowded market by day contrasted with empty streets at night, or how you saw things differently after a long trip. Add “then vs. now” captions or reflections to emphasize those changes.
Do you ever think about the way travel changes not just places but also you? This approach can articulate growth, change and the subtle stories that emerge when you are paying attention to time and contrast.
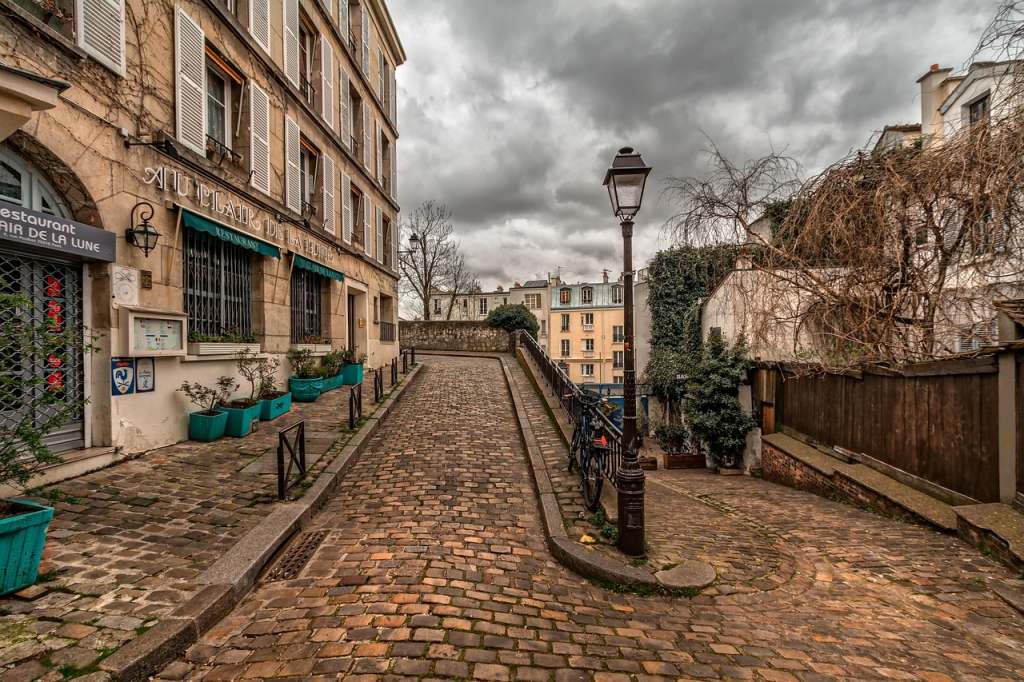
8. Textures & Details
Look for patterns, textures and small details: cobblestone streets, woven baskets or peeling paint on walls. These close-ups tell stories that larger photos could overlook, turning your book into something you can touch and feel.
Feel free to mix macro shots in with wider views to add context. By focusing on the little things, you invite people to see what you saw, turning your photo book into a sensory journey as well as a visual one.
How to Design Your Travel Photo Book
1. Plan Your Story
Before diving into design, decide the story you want your travel photo book to tell. Are you documenting your journey day by day, or highlighting themes like local cuisine, architecture, or street scenes? Consider drafting a rough storyboard or using a digital layout tool to organize your ideas.
This step lets you see how photos and text will be interacting with one another, and where those gaps or redundancies emerge. Planning it also makes sure your book feels organic, like you’re escorting the reader through a day of your life.

2. Pick a Cohesive Style
A consistent visual style gives your photo book a polished and professional feel. Choose a color palette, fonts, and overall tone that match the mood of your trip. For example, earthy tones work well for nature adventures, while bold, vibrant colors suit urban explorations.
Decide if your design will be minimalist, playful, or elegant, and avoid mixing too many contrasting elements. Consistency in style helps unify your photos, text, and graphic elements, creating a seamless reading experience.
3. Curate Your Photos
Not every picture you took needs to be included. Select photos that evoke memories or tell a story on their own. Mix wide shots that capture the environment with close-ups that highlight details, textures, or emotions.
Try to avoid overcrowding pages—each photo should have room to breathe. By curating carefully, you ensure that every image carries meaning and contributes to the narrative rather than distracting the reader.
4. Vary Page Layouts
Keep your photo book visually engaging by varying layouts. Sometimes, a single breathtaking photo deserves a full page, while other times, collages can capture the energy of a busy market or festival.
Use short captions to complement the images without overwhelming them—often, just a few words are enough to convey context or emotion. Incorporating white space strategically helps the eye rest and enhances overall readability, making your book enjoyable to flip through.
Conclusion
Creating a travel photo book is more than just organizing pictures—it’s about preserving your adventures and memories in a way that lasts. With these travel photo book ideas, you now have the tools to design a book that reflects your journey and personality.
Take the time to plan, experiment with layouts, and let your creativity shine. Every detail matters, from photo selection to design style, and the result will be a keepsake you’ll cherish for years. By approaching your photo book thoughtfully, you turn your trips into stories that you can relive anytime.