

Shivering through a 45-minute dive in 50°F water isn’t just uncomfortable. It’s dangerous. While your dive buddies in drysuits explore comfortably, you’re cutting your dive short, missing marine life, and risking hypothermia. Dry suit diving opens up an entirely new world of opportunities beneath the surface, but it requires specific knowledge, training, and a meaningful equipment investment. A Custom fit dive mask also plays a key role in comfort and visibility, helping you stay focused on the dive instead of dealing with leaks or poor fit. This guide cuts through the sales pitches to give you honest, practical information about dry suit diving. You’ll learn how drysuits work, how to choose the right suit, what training involves, and what everything realistically costs.
This guide cuts through the sales pitches to give you honest, practical information about dry suit diving. You’ll learn how drysuits work, how to choose the right suit, what training involves, and what everything realistically costs.
What Is Dry Suit Diving and When Do You Need It?
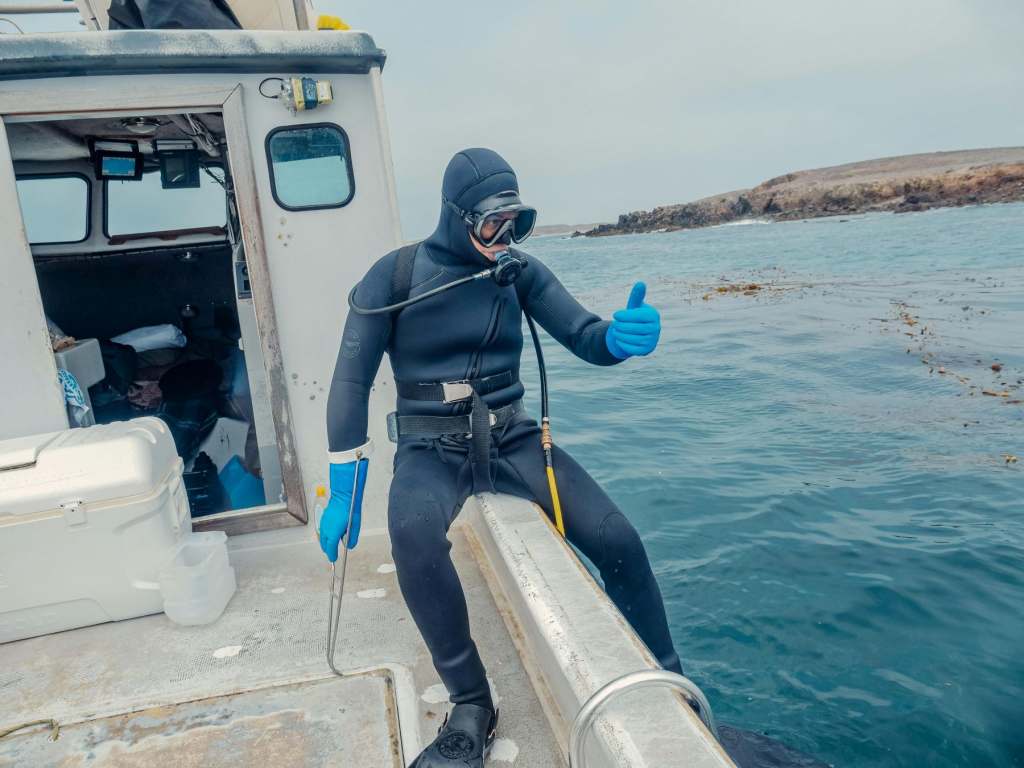
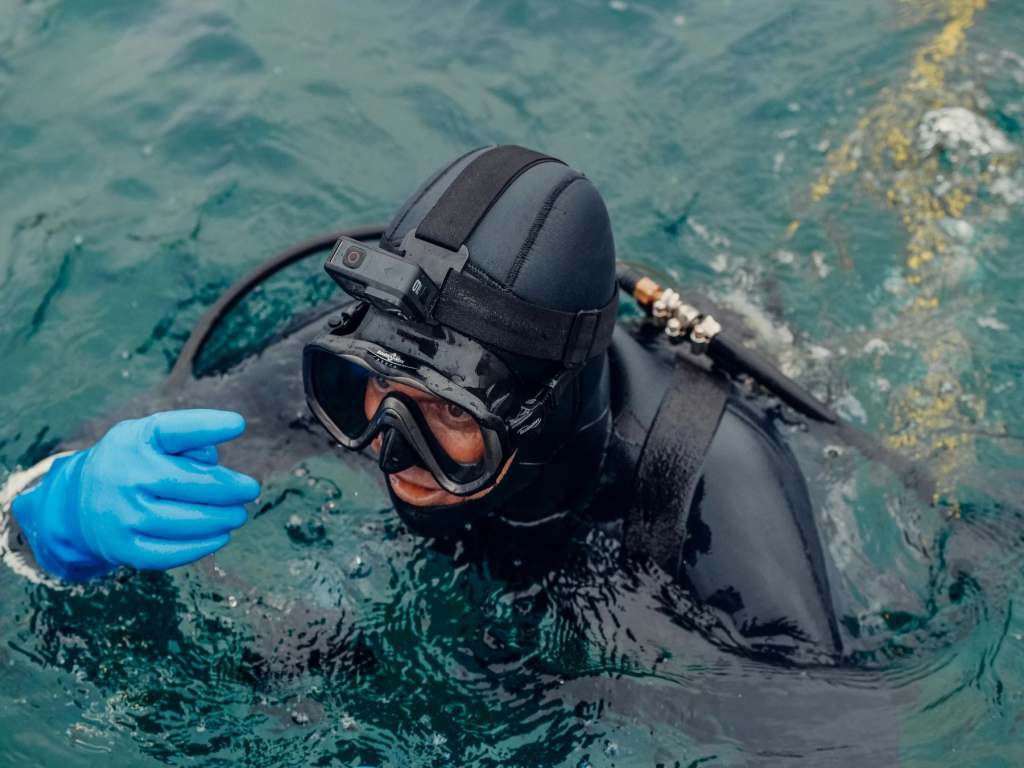
Unlike a wetsuit, a drysuit keeps water out entirely. Waterproof seals at your wrists, neck, and ankles create a barrier between you and the surrounding water. The drysuit itself doesn’t keep you warm. Thermal protection comes from your undergarments, while the trapped air layer acts as insulation.
That air space also affects buoyancy. As you descend, pressure compresses the air and you feel a “squeeze.” As you ascend, it expands. Managing that dynamic alongside your BCD is the core skill challenge of drysuit diving.
When do you actually need one? Above 65°F (18°C), a quality wetsuit is sufficient. Between 60–65°F, a 7mm wetsuit works for shorter dives, but a drysuit extends bottom time considerably. Below 60°F, drysuits are strongly preferred, and below 50°F they’re essentially essential. If you’re regularly diving UK waters, the Pacific Northwest, or the Great Lakes between October and May, a drysuit stops being a luxury and becomes a core safety item.
Types of Drysuits: Neoprene vs. Membrane
Neoprene drysuits are constructed from 3–7mm compressed neoprene, giving them inherent thermal protection even if your undergarment gets slightly damp. The tradeoff is buoyancy. They typically require 8–12 lbs of additional lead and are bulkier and slower to dry. They excel for local cold water diving, wreck penetration, and rocky shore entries where abrasion resistance matters.
Membrane (trilam) drysuits use multi-layer waterproof fabric with no inherent insulation. All thermal protection depends on your undergarments, making them highly flexible across varying temperatures. They pack well, dry fast, and require less lead weight. They’re the preferred choice for travel diving, technical diving, and divers who want a versatile system across changing conditions.
In short: neoprene suits reward local, consistent cold-water divers; trilam suits reward those who travel or dive varying conditions frequently.Essential Drysuit Features
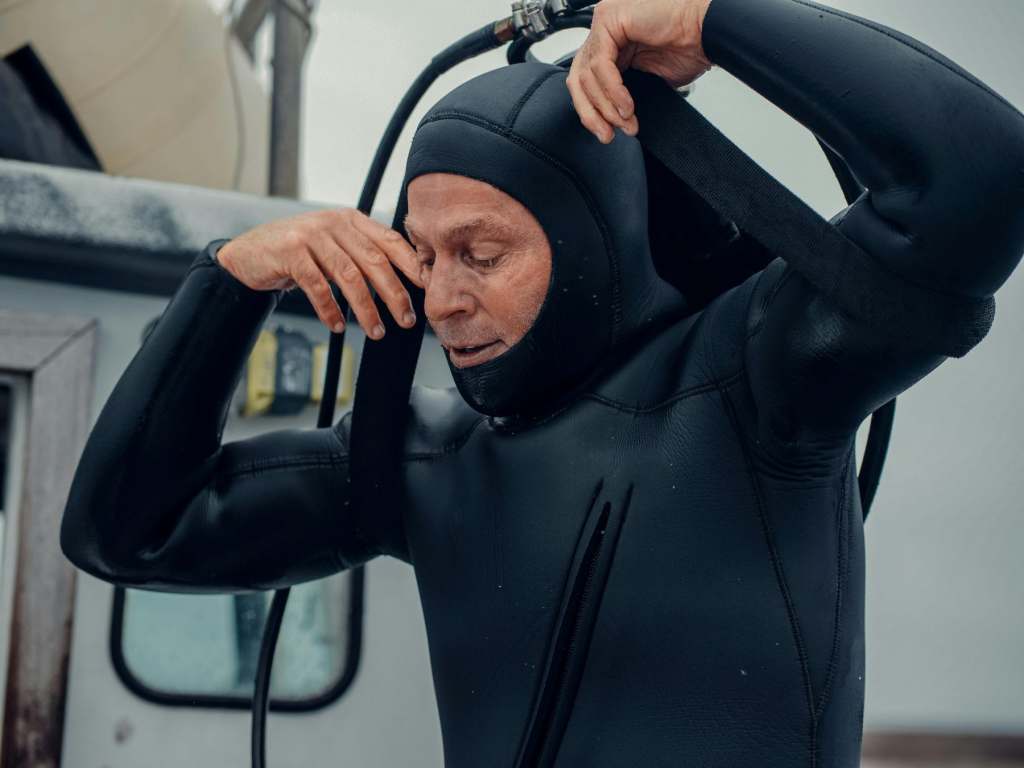
- Zippers determine how much you need your buddy. Back-entry zippers are traditional and watertight but require assistance to close. Front-entry zippers allow self-donning and are increasingly standard on modern suits.
- Seals matter more than most beginners realize. Latex seals are the traditional standard, replaceable and watertight, but some divers have allergies. Expect to replace them every 50–100 dives. Silicone seals are hypoallergenic, more durable, and increasingly preferred despite the slightly higher cost. Neoprene seals are warmer but less watertight, suited mainly for milder cold-water conditions.
- Valves control the air in your suit. The inflator valve connects to your first stage via a low-pressure hose. The exhaust dump valve (typically located at the shoulder) releases expanding air on ascent. Shoulder-mounted dump valves operate automatically based on body position, while wrist valves give you manual control.
- Fit is more critical in a drysuit than a wetsuit. Too baggy creates unmanageable air pockets; too tight restricts movement and stresses seams. Off-the-rack suits run $975–$1,500 and work well for average builds. Made-to-measure suits run $1,500–$2,500+ with a 4–8 week lead time, worth the premium for non-standard builds. Rental suits at $50–$100 per day are an excellent way to test different types before committing.
Dry Suit Diving Training: What to Expect
Most dry suit specialty courses include a 2–3 hour classroom session covering suit types, buoyancy physics, and maintenance; two confined water sessions for donning, inflating, venting, and basic buoyancy; and two open water dives applying those skills in real conditions. Cost typically runs $200–$400 including materials.
Critical skills you’ll master:
- Preventing and recovering from an inverted position when air migrates to your legs
- Managing squeeze on descent by adding short air bursts
- Proper weighting (most drysuit divers need 4–10 lbs more than their wetsuit configuration)
- Flood management if a seal fails underwater
Mastering Drysuit Buoyancy Control
Here’s what nobody tells you before your first drysuit dive: it feels strange. You’re managing buoyancy in two separate air spaces simultaneously.
Two main approaches exist. The drysuit-primary method uses the suit for buoyancy and keeps the BCD near-empty. This reduces complexity but requires precise suit control. The BCD-primary method keeps the suit inflated only enough to prevent squeeze and uses the BCD as in wetsuit diving. Most instructors recommend the BCD-primary approach for beginners.
Experienced divers typically blend both: the suit handles comfort and minor adjustments at depth, while the BCD manages the safety stop and ascent control.
Air in your suit migrates to the highest point of your body. If your feet rise, air rushes to your legs, a common cause of uncontrolled ascents. Body positioning is your primary tool for managing where that air sits.
Common beginner mistakes:
- Over-inflating the suit (add air in small bursts, less is more)
- Letting feet rise during the dive (maintain slightly head-up trim)
- Wearing cotton undergarments (it absorbs water, loses all insulating properties, and accelerates hypothermia)
- Forgetting to adjust weighting before the dive
For divers with vision correction needs, a Prescription Dive Mask makes reading gauges and dive computers in any visibility far more reliable, especially in the lower-visibility conditions common to cold water environments.
Undergarments and Accessories
The undergarment system is what actually keeps you warm in a membrane suit and significantly boosts warmth in neoprene. Getting this wrong is expensive and potentially dangerous.
Thinsulate synthetic insulation is the industry standard, retaining warmth even when slightly damp. Fleece works for moderately cold water but absorbs moisture faster. Merino wool makes an excellent base layer but works best in combination with a primary insulating layer.
As a rough guide: for 50–60°F, a mid-weight Thinsulate undersuit (200–300g) typically suffices. For 40–50°F, go heavier at 400g or layer a mid-weight suit with a fleece base. Below 40°F, maximum insulation with multiple layers is necessary. Budget $150–$400 for quality undergarments. This is not where to cut costs.
For accessories, a 7mm neoprene hood significantly reduces heat loss. Thick neoprene gloves (5–7mm) work for most cold water; dry gloves with integrated rings provide better warmth for very cold conditions. Zipper wax, a proper drysuit hanger, and a seal repair kit round out your maintenance essentials.
Drysuit Maintenance: Protecting Your Investment
Rinse with fresh water, flush the valves, dry the suit inside-out first in shade before turning right-side out, inspect seals for nicks or tears, and store hanging in a cool dark location away from UV light and ozone sources.
Apply zipper wax every 10–20 dives to prevent stress on the waterproofing mechanism. Replace latex seals every 50–100 dives. DIY kits cost $20–$50, and professional replacement runs $50–$150 per seal. Silicone seals last 150+ dives. Get professional service for any zipper that’s difficult to close, seam leaks, or valve replacement.
The Real Cost of Dry Suit Diving
Here’s the honest breakdown. Entry-level setups covering a suit, undergarments, hood and gloves, training, extra weighting, and a maintenance kit run approximately $1,455–$2,225. Mid-range systems come in around $2,225–$3,230. High-end configurations can reach $3,105–$4,770 or more.
A drysuit alone ranges from $975 at the entry level to $3,500+ at the high end. Quality undergarments add $150–$400. Training certification adds $200–$400. Accessories, weighting, and a basic maintenance kit add another $130–$270.
Annual maintenance typically runs $50–$200. Renting at $50–$100 per day makes financial sense for fewer than 10 cold-water dives per year. Beyond that, ownership becomes rational within 2–3 years, with the added benefit of a suit that fits properly and gear you genuinely know.
Taking the Plunge: Your Next Steps
Dry suit diving transforms cold water diving from an endurance test into a comfortable, safe, and genuinely rewarding experience. The key is matching your suit choice to your actual diving environment, frequency, and budget.
Your practical next steps:
- Take a drysuit specialty course first. Most shops let you try different suit types during training, invaluable before a $1,500+ purchase.
- Rent before you buy. Three to five rental dives will clarify exactly which features matter to you.
- Budget for the full system. Your suit is only as good as your undergarments.
- Prioritize fit. A mid-range suit that fits perfectly outperforms a high-end suit that doesn’t.
Cold water diving, done right, offers some of the most spectacular marine environments on the planet: better visibility, fewer crowds, and marine life you simply won’t encounter in warmer water. If you’re new to diving or considering expanding your skills, understanding the fundamentals is key—this helpful guide on how to learn to scuba dive and breathe with confidence is a great place to start. The drysuit is your ticket in.